We Help You Engage Your Prospects And Build An Army Of Loyal Customers
Automate your systems, engage your prospects
and create a constant flood of sales

What If…
You could increase your sales revenue by up to 30% using your current contact list and incoming leads?

You could drive efficiency
and automate your processes using a proven solution?

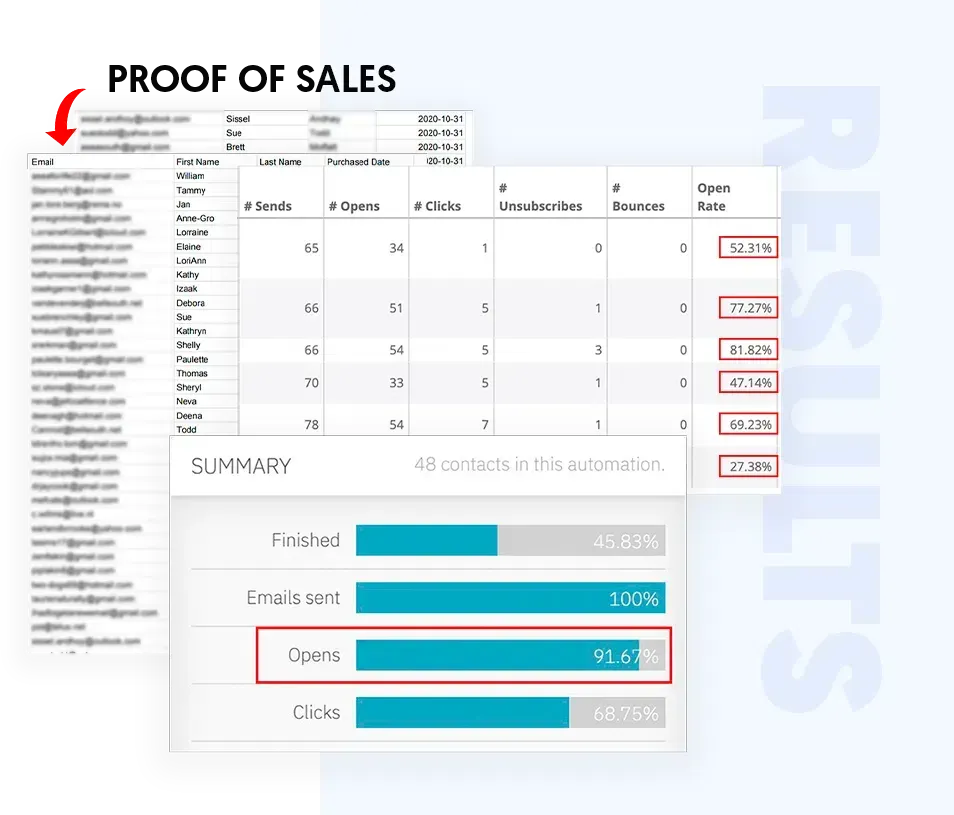
You could increase your email open rates up to 45%?
And build an army of loyal customers who never think about going elsewhere?
Well, if you have a constant supply of leads but don’t have a solid, engaging, and consistent follow-up and upsell system….
Then we can help you achieve all of this, starting right now.
Some of the Brands We’ve Worked With...

Entreinstitute.com – Jeff Lerner
We grew his ActiveCampaign to 2 Million+ Contacts

AdClients.com – Jon Peberthy
We Increased his sales by 30% in 30 days
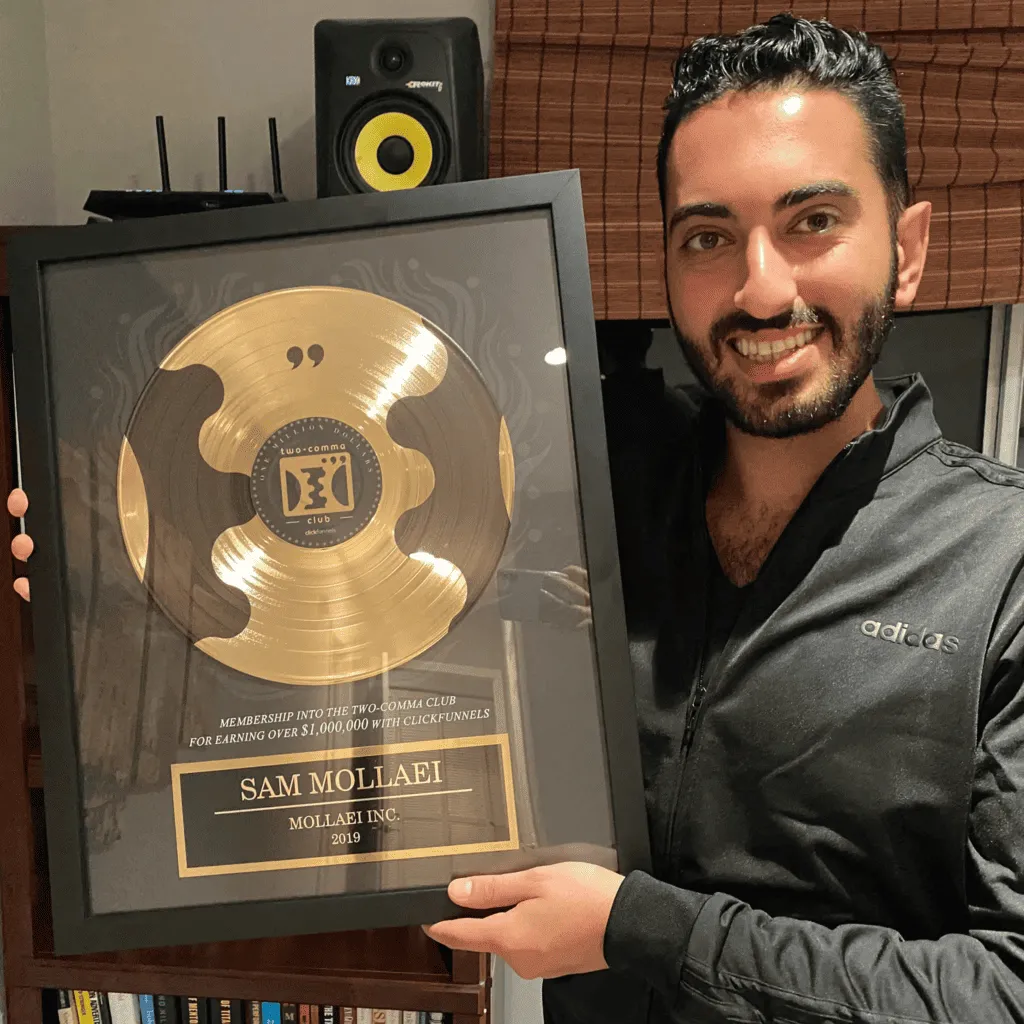
Mollaeilaw.com – Sam Mollaei
We Increased his open rate by 20%

Fasttrack.business – Scott Weddell
We made $42.5K in sales from a single campaign

Tribefit.co – Chris Lynton
We helped with email engagement and increased sales

Eliteinc.com – Niel Malan
We assisted with a Million Dollar Launch
Did you know that 47% of your website visitors don’t buy from you simply because they aren’t ready?
They intend to buy in the future, but if they don’t remember you, they won’t return.
The problem is, like most companies, you’re busy Having the time to engage your online visitors and keep in regular contact with them is a luxury when you’re trying to run your business as well.
But don’t worry….
Sales Studios has helped thousands of businesses just like yours turn browsers into engaged, loyal customers, and we can help you too.
OUR SERVICES
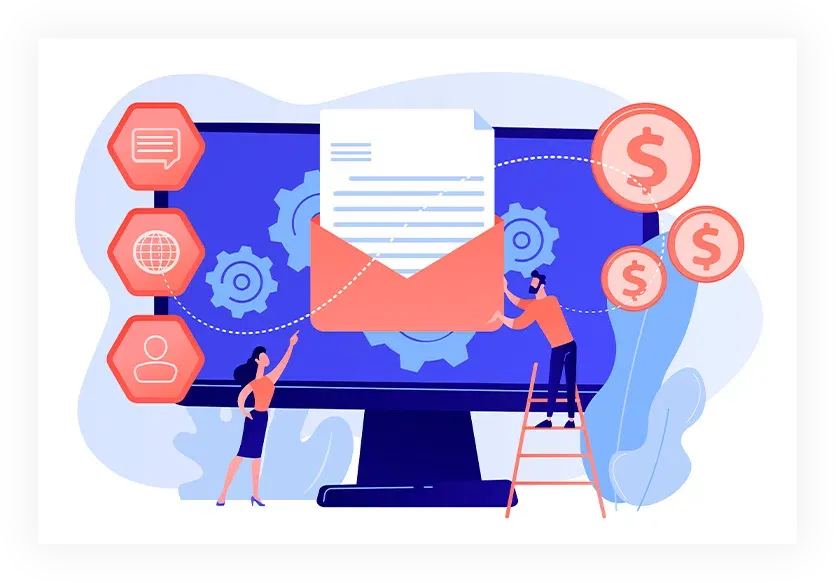
Email Marketing
Strategy
Custom Made for You
ROI focused
Increase engagement
Fix Deliverability issues
Deliverability
Increase open rates
Get more engagement
Technical Configuration
Remove domain from blacklist
Monthly Retainer
All done for you
Strategy
Deliverability
Maintenance
Support

Projects
Implementations
Troubleshooting
Assistance
Support
You could be just one Discovery Call away from transforming your business and achieving amazing results, like these:
30%
Sales Revenue Increase
Average expected from month 2 of a retainer package
15,000
Hours saved
By Increasing Automation and Efficiency for Our Customers
45%
Open Rate
Go from 3% to 45% Open Rate with Engaging Content
10X
Sales generated
From a special campaign in 7 days for Legion of Abundance.
375%
ROI Increase
Ecomm Keys received 375% increase in ROI.
Discover Your Potential
Your free no obligation Discovery Call is your chance to find out more about how we can boost your profits up to 30% using email follow-up and automation.
So, let’s have a chat, we can show you how we’ve helped other clients, and discuss how we can help your business too. Because every
business is different, your Discovery Call is vital for us to discover the best way for us to help you skyrocket your profits.
Using the Sales Studios Online System, you’ll learn how to:

Grab your prospect’s attention on your website so they leave their details with you.
Automate your messaging system combining email, SMS, ringless voicemail, and Facebook custom audience.
Position yourself as a leader in your field, which creates trust and positions you firmly in your prospect’s mind.
Encourage your prospects to actively engage with you and help to promote your brand.
Convert them into lifelong customers who rave about you to their friends and family.
Drive your sales revenue through the roof
The great thing about the Sales Studios Online System is that once it’s done, it’s constantly working for you.
Converting your leads into high quality, engaged, and loyal customers without you having to do a thing. Sales Studios can take care of every step for you
Creating Your Strategy
Implementing Your Sales Studios Online System
Increasing your engagement

Taking care of any issues that may arise
Years of Experience, Thousands of Incredible Results
Achieving amazing results for you is what drives us.
Our Online System has been proven to help companies of all sizes from all over the world.
And being an ActiveCampaign Certified Consultant means that we know the INs and OUTs of email marketing, and we have a deep understanding of ActiveCampaign’s fundamentals as well.
So, you can get on with doing what you really love, while Sales Studios helps you create a tribe of loyal fans and transforms your business. Let’s get started today, simply schedule your FREE, no obligation Discovery Call and get ready to watch your profits soar!
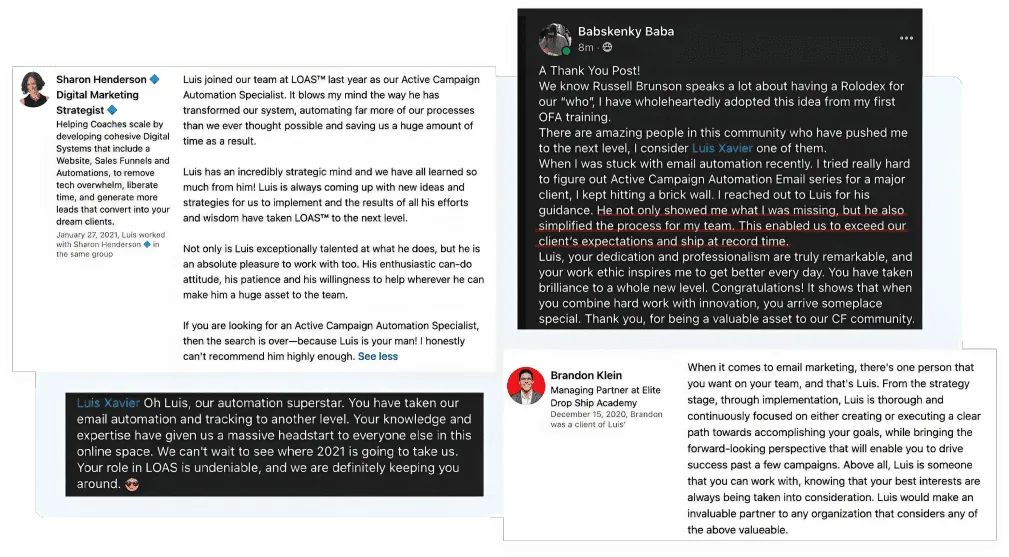
Here’s What Just Some of Our Success Stories Say About Us

- Josh Duke -
- Samuele Ferrari -
- Nicholas Carrandas -
- Ted Car -
- Jayne Havens -
- Faraz Khan -
- Bryan Mills -
- Shani Taylor -